Manual.ly Logo

Chicco Baby Hug 4 in 1 Manual

0,0 · 0 Avaliações

Manual em PDF · 112 Páginas

Português

M: GO-GEM-FL-25
página

/ 112

Loading...
c2b283e0701ef547d8f033ee65ada21c6ffd page 10
16
17
CLEANING
Clean the plastic parts with a soft damp cloth. Never use
abrasive detergents or solvents. If the highchair comes
into contact with water, dry the metal parts to prevent
the formation of rust.
MAINTENANCE
• This product requires periodical maintenance.
• Cleaning and maintenance operations must only be
carried out by an adult.
• Periodically check the product for broken, damaged or
missing parts: do not use it in this case.
• To avoid friction that may compromise the correct
functioning of the product, ensure that all the moving
plastic parts located along the metal frame are free of
dust, dirt and sand.
• If necessary, lubricate the moving parts with dry sili-
cone lubricant.
• Store the product in a dry place.
COMPONENTS
The product is completely disassembled when pur-
chased; check that all of the components listed below
are present. If any part is missing contact ARTSANA’s
CUSTOMER SERVICES.
The product and all of its components must always be
assembled by an adult.
A - Height adjustable pedestal frame
A1 - 4 wheels with brakes
B - Seat frame
C - Seat structure
D - Tubular seat frame
E - Fabric (with shoulder straps)
F - Booster cushion
G - Toybar
G1 - Light / sound game buttons
G2 - 3 soft toys
I - Upper fabric zips
L - Plastic clips
M - Height adjustment pedal
N - Backrest recline lever
ASSEMBLY
The product is not assembled when purchased. To use
it, carry out the following assembly operations:
1. The rst thing to do is assemble the “A1” wheels on
height adjustable base frame “A”. To do this place the
frame on a rug or soft surface so as not to damage the
oor or frame. Assemble the 4 “A1” wheels inserting
the pins in the 4 holes under height adjustable base
frame “A” as shown in gure 1.
WARNING: Fully insert the wheel pin into the hole in
the base. At this point the base can be rested on the
oor.
2. Insert the fasteners of seat frame “B” into the respec-
tive tubes on seat structure “C” until they click into
place (Fig. 2).
3. Assemble the seat (seat frame “B” + seat structure
“C”) on the base: insert the two tubes on base “A”
into the corresponding holes on seat frame “B” until
they click into place (Fig. 3).
WARNING: The backrest must face the height adjust-
ment pedal (I) as shown in Fig. 3a.
4. Insert tube “D” into the corresponding holes on seat
frame “B” until they click into place (Fig. 4).
5. To assemble fabric “E” line up the holes on the fabric
with the restraint system installed on seat structure
“C”. Pass the two lateral arms of seat frame “B” through
the side fabric holes (FIG. 5), insert the pins of the
arms into the holes on either side of the backrest (FIG.
5a) until they click into place.
WARNING: Check that both arms are assembled cor-
rectly.
6. Attach fabric “E” using the two perimeter zips above
seat frame “B” (Fig. 6).
7. Pass the crotch strap and waist straps on seat struc-
ture “C” through the holes of fabric “E” (Fig. 7-7a-7b-
7c).
8. Attach the fabric (E) to the bottom of seat structure
“C”, making sure to insert all of the plastic clips in the
right slots (Fig. 8-8a).
BOOSTER CUSHION
9. Reducer cushion “F” is ideal from birth and can be
used or removed as necessary. To attach it to the
seat, place it on the fabric, pass the crotch strap and
waste straps through the holes in booster cushion “F”
(reclined cradle mode), (Fig. 9). In highchair mode it
is also necessary to pass the shoulder straps through
the holes of the booster cushion (Fig. 9a).
TOYBAR
10. The toys can be attached to the toybar by passing the
straps through the plastic openings on the bar (Fig.
10) and fastening the velcro.
11. Assemble the toybar (with the light positioned to-
wards backrest recline lever “N”) inserting the pins of
the bar into the holes on seat frame “B” until it clicks
into place (Fig. 11).
12. To incline the toybar in the three possible positions
press the side buttons (Fig. 12).
13. To remove the toybar press the buttons on the inside
of the bar support and pull upwards (Fig. 13).
WARNING: Always check that the toybar is properly
fastened before using it.
WARNING: To prevent possible injury by entaglement,
remove this toy when the child starts trying to get up
on its hands and knees in a crowling position.
HEIGHT ADJUSTMENT
14. Once assembled, the product can be adjusted to
various heights in all congurations. To adjust its
height, hold down height adjustment pedal “M” (Fig.
14) and lift or lower the seat to the desired height.
ADJUSTING THE BACKREST
15. The backrest can be adjusted to four dierent posi-
tions. To do this, push down on backrest recline lever
“N” (Fig. 15).
Position 1 – Crib mode (Fig. 15a)
Position 2-3 – Reclined cradle mode (Fig. 15b)
Position 4 – Highchair and rst chair at the table mode
(Fig. 15c)
These adjustments can also be made with your child
seated in the product. In this case it will be slightly more
dicult.
WARNING: Always check that the backrest is properly
locked before use.
USING THE SAFETY HARNESS
16. With fabric “E” assembled on seat structure “B”, there
will be a crotch strap, two waist straps and two
shoulder straps (Fig. 16).
17. CRIB MODE - WARNING: Completely remove all
safety harnesses making sure to keep them out of
the reach of your child (Fig. 17).
18. RECLINED CRADLE MODE - WARNING: A 3-point
restraint system must be used: crotch strap + waist
straps (Fig. 18).
19. After placing your child in the seat, reclined cradle
mode, fasten the straps by passing the two prongs
through the crotch strap buckle; adjust the waist
straps so that they t closely around your child’s
waist (Fig. 19).
20. HIGHCHAIR AND FIRST SEAT AT THE TABLE
MODE - WARNING: A 5-point restraint system
must be used: crotch strap + waist straps + shoulder
straps (Fig. 20).
WARNING: In this conguration the toybar must al-
ways be positioned behind the backrest.
21. After placing your child in the seat in highchair
mode, fasten the straps by passing the two prongs
through the shoulder strap buckle (Fig. 21) and then
through the crotch strap buckle (Fig. 21a); Adjust the
height of the shoulder straps so that they correctly
t your child’s shoulders.
Always make sure that the straps are fastened correctly.
To unfasten the strap, press and pull the side prongs.
WARNING: When using the product, always fasten the
straps by inserting them in the crotch strap and check
that they are tight enough and properly fastened.
22. The safety harness straps can be removed (for washing
or for use in the crib/reclined cradle conguration).
To remove the harnesses pull the waist and crotch straps
out from the holes in the fabric (Fig. 22-22a-22b) until
they are hidden on the seat frame and pull the shoulder
straps out from the fabric holes on the backrest (Fig. 22c
-22d). After removing the safety harnesses, make sure
that the harnesses are correctly re-assembled.
To re-assemble the safety harnesses, carefully follow the
steps below:
23. Follow point 7 of the ASSEMBLY paragraph to re-
assemble the waist straps and crotch strap. For the
shoulder straps, pass the strap through the hole as
shown in Fig. 23, making sure that the length adjust-
er is positioned as shown in the gure.
Take the plastic hole of the shoulder straps and pass it
through the fabric ring of the harness (Fig. 23a).
Having performed this operation correctly, pull the har-

Converse com o manual do seu Chicco Baby Hug 4 in 1 através de IA

Obtenha respostas instantâneas de IA a partir do manual do seu Chicco Baby Hug 4 in 1

Pergunte qualquer coisa sobre o Chicco Baby Hug 4 in 1. As respostas vêm deste manual, com as páginas nas quais se baseiam.

Baby Hug 4 in 1 Cronograma de manutencao

Após cada lavagem
Verificar tecido e costuras

Verifique a resistência do tecido e das costuras após cada lavagem para garantir a segurança.

Mostrar no manual (pagina 15)
Periodicamente
Inspecionar danos

Verifique regularmente o produto em busca de partes quebradas, danificadas ou faltantes e não o use se encontrar.

Mostrar no manual (pagina 14)
Periodicamente
Limpar partes móveis de plástico

Remova poeira, sujeira e areia das partes de plástico que deslizam sobre tubos metálicos para evitar atrito.

Mostrar no manual (pagina 16)
Conforme necessário
Lubrificar partes móveis

Aplique lubrificante de silicone seco nas partes móveis se necessário para garantir o funcionamento correto.

Mostrar no manual (pagina 16)
M: QW-35-FL

Faça uma Pergunta

0/1000

Você recomenda Baby Hug 4 in 1?

Sim Não

Perguntas Frequentes

A

Pode ser usado desde o nascimento nos modos berço e moisés reclinado até 9 kg; depois, a partir de cerca de 6 meses, no modo cadeira alta e primeira cadeira até 36 meses e 15 kg.

Esta resposta foi útil?

A

Não. O moisés reclinado não foi destinado a sono prolongado. Se a criança precisar dormir por mais tempo, deve-se usar um berço ou cama apropriados.

Esta resposta foi útil?

A

Sim. A barra de brinquedos pode ser fixada ou removida conforme necessário. No modo cadeira alta, ela deve sempre permanecer posicionada atrás do encosto por segurança.

Esta resposta foi útil?

A

O tecido deve ser lavado à mão apenas em água fria. Não use alvejante, secadora, ferro de passar nem lavagem a seco. Verifique as costuras e o estado do tecido após a lavagem.

Esta resposta foi útil?

A

Sim. As quatro rodas devem ser travadas sempre que o produto estiver em uso para ajudar a mantê-lo estável e reduzir o risco de movimento ou tombamento.

Esta resposta foi útil?

A

Verifique se todas as partes estão montadas corretamente, se os mecanismos de travamento estão acionados, se o cinto está ajustado corretamente e se nenhum componente está quebrado, rasgado ou ausente.

Esta resposta foi útil?

M: GO-GEM-FL-25

Vantagens e Desvantagens

Vantagens

  • O design 4 em 1 acompanha a criança do nascimento até 36 meses.
  • A altura ajustável e o encosto reclinável apoiam diferentes rotinas diárias.
  • A barra de brinquedos removível com luzes e sons adiciona entretenimento nas fases iniciais.
  • As partes de tecido removíveis e laváveis facilitam a limpeza e os cuidados.
VS

Desvantagens

  • As mudanças de modo exigem montagem cuidadosa por um adulto e verificações frequentes de segurança.
  • O produto deve ser usado sempre com o sistema de retenção correto.
  • Os modos berço e moisés reclinado são limitados a uma faixa etária relativamente curta.
  • As pilhas da barra de brinquedos e as partes móveis exigem manutenção e atenção periódicas.
M: GO-GEM-FL-25

Produto Especificação

Peso

10,20 kg

Dimensões (LxAxP)

850x880-1220x600 mm

Características

ajustável em altura, conversível para cadeira alta, função de melodia

M: GO-GEM-FL-25

Produto Descrição

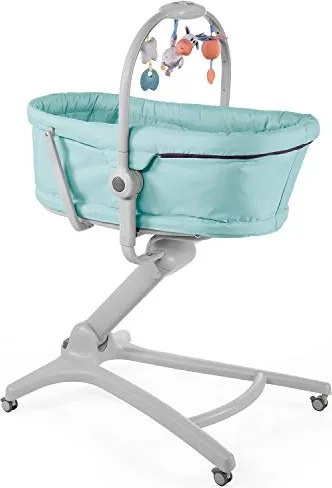
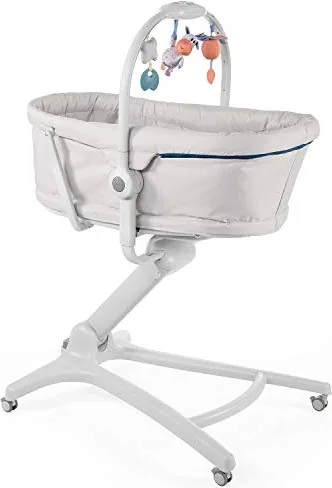
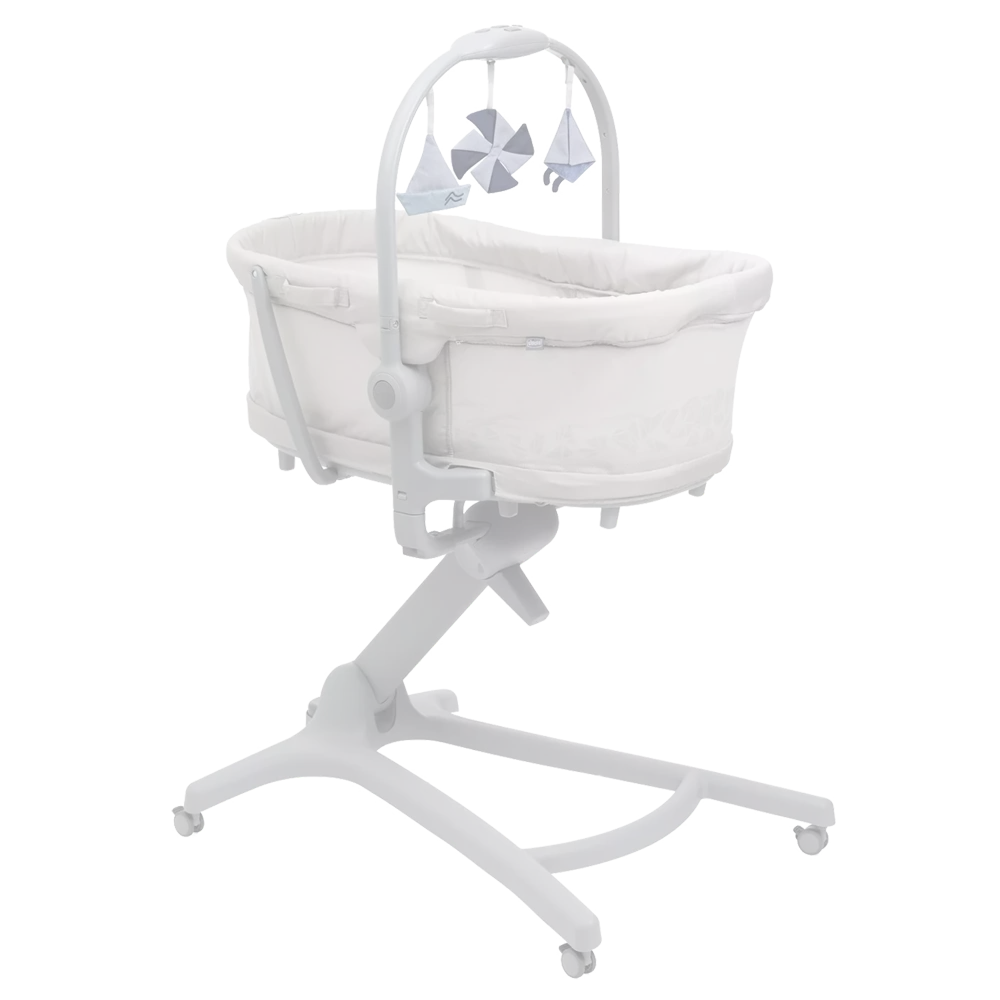
Chicco Baby Hug 4 in 1 Moisés: Um assento inteligente para os três primeiros anos

O Chicco Baby Hug 4 in 1 Moisés se destaca como um companheiro versátil para o quarto do bebê que acompanha a criança por várias fases iniciais com uma facilidade surpreendente. Dos primeiros dias em casa aos anos de criança pequena, pode funcionar como berço, moisés reclinado, cadeira alta e primeira cadeira à mesa. Essa flexibilidade o torna atraente para pais que valorizam soluções compactas sem abrir mão do conforto ou da praticidade.

No modo berço, oferece um espaço aconchegante para recém-nascidos até 9 kg, enquanto a configuração de moisés reclinado proporciona às famílias um local confortável para relaxamento supervisionado durante os primeiros meses. Mais tarde, quando a criança consegue sentar-se sozinha, o produto se transforma em uma cadeira alta e primeira cadeira adequada para as refeições e os momentos cotidianos em família até 36 meses e 15 kg. O resultado é uma única peça de equipamento para bebês que se adapta às mudanças de rotina em vez de ficar sem uso depois de poucos meses.

O design também foca na conveniência. Um sistema de altura ajustável ajuda o assento a se alinhar com diferentes configurações de móveis, e o encosto pode ser reclinado em várias posições para corresponder ao uso pretendido. Uma barra de brinquedos removível com luzes, sons e brinquedos macios adiciona um toque envolvente, especialmente nas fases iniciais. Para muitos pais, o Manual do Chicco Baby Hug 4 in 1 Moisés torna-se útil aqui, pois explica como alternar entre os modos com segurança e aproveitar ao máximo cada configuração.

Outra vantagem é a manutenção diária. As partes têxteis removíveis, os cintos de segurança e as superfícies fáceis de limpar tornam o uso mais administrável para lares ocupados. O produto também foi construído com forte foco na estabilidade e na supervisão, lembrando os cuidadores de manter as rodas travadas, verificar os pontos de travamento e usar o sistema de retenção correto para cada modo. Esses detalhes importam porque um produto multifuncional deve ser tão seguro quanto prático.

Notas

  • Mais indicado para pais que procuram uma solução duradoura e que economize espaço.
  • Siga sempre as etapas de montagem com cuidado antes de cada mudança de modo.
  • A inspeção regular e a limpeza adequada ajudam a preservar o desempenho e a aparência.
  • A barra de brinquedos é divertida para bebês menores, mas deve ser removida quando a criança ficar mais móvel.
M: GO-GEM-FL-25

© Copyright 2026 Manual.ly